Register Google API-Key
To be able to use the Google Solar API data in PV*SOL®, a valid API key is required, which can be created quickly and easily at Google. A Google account with stored payment information is required.
Simply follow these step-by-step instructions:
Go to this link here:
https://console.cloud.google.com/project/_/google/maps-apis/credentials?hl=en
Activate Google Account in Cloud Console
Terms of use
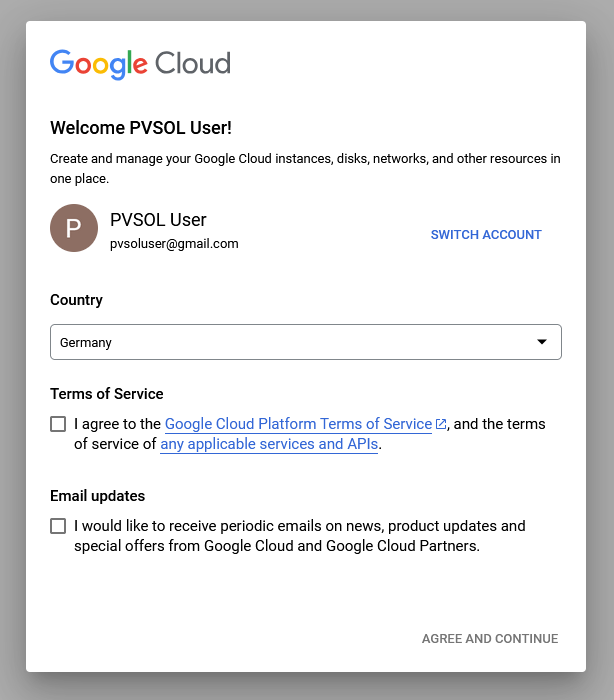
As already mentioned, in order to register an API key for the Google Solar API, the Google account must be activated in the Google Cloud Console and a payment method must be stored. If this has not yet been done, a welcome dialogue will appear after clicking on the link above, which can be used to activate the account.
If you do not see this welcome dialogue, you can continue directly with creating a project.
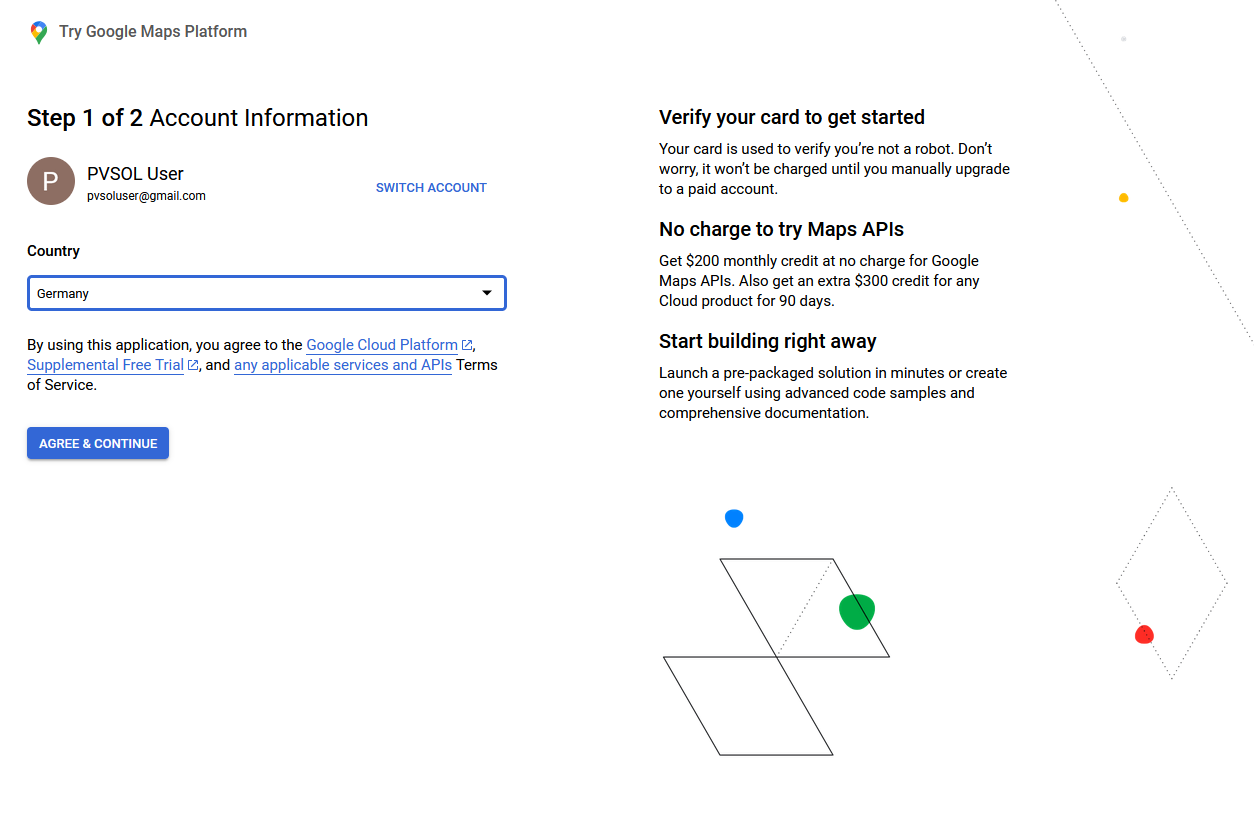
Agree to the terms of use here:
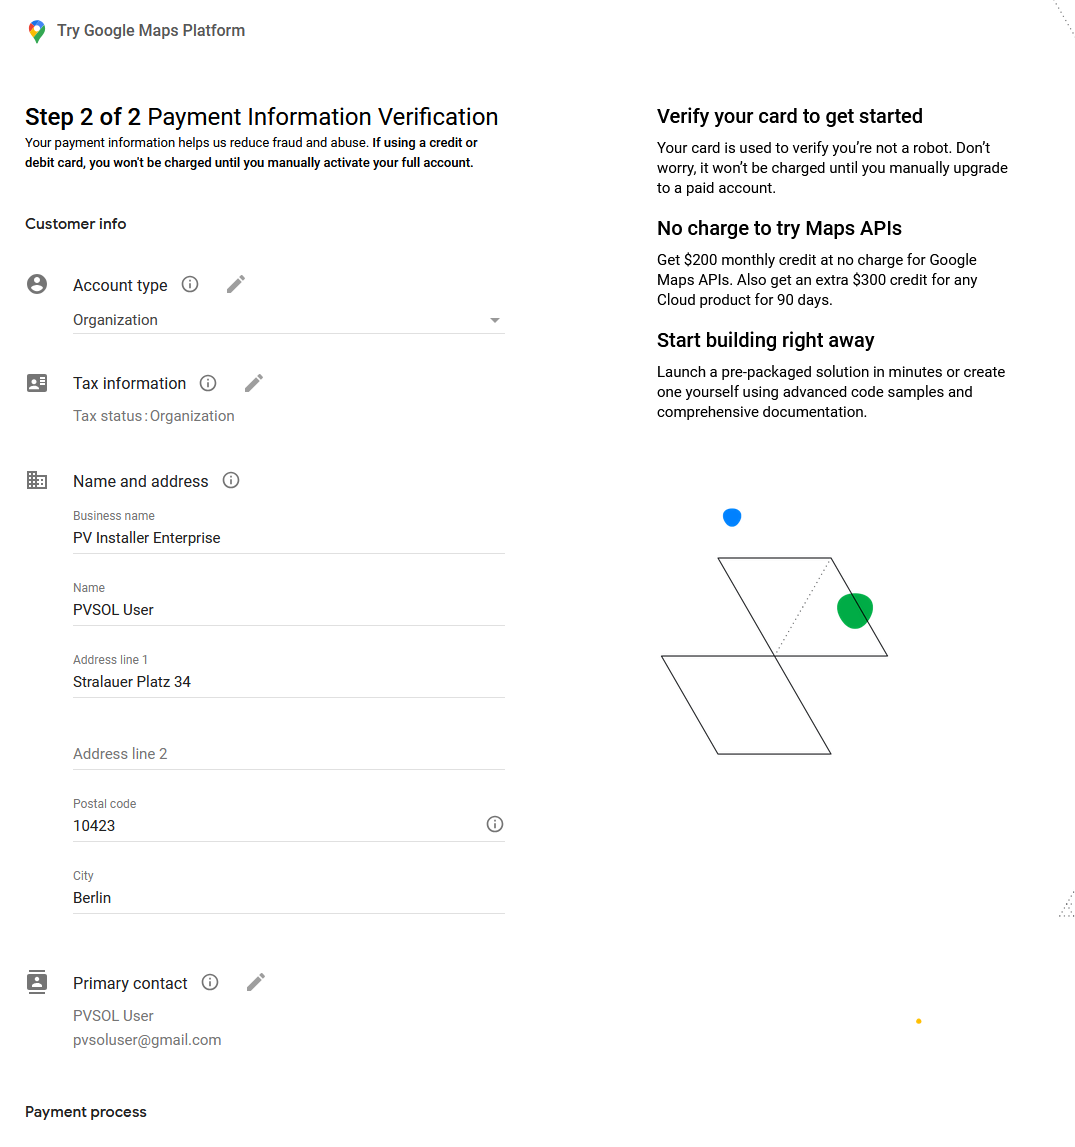
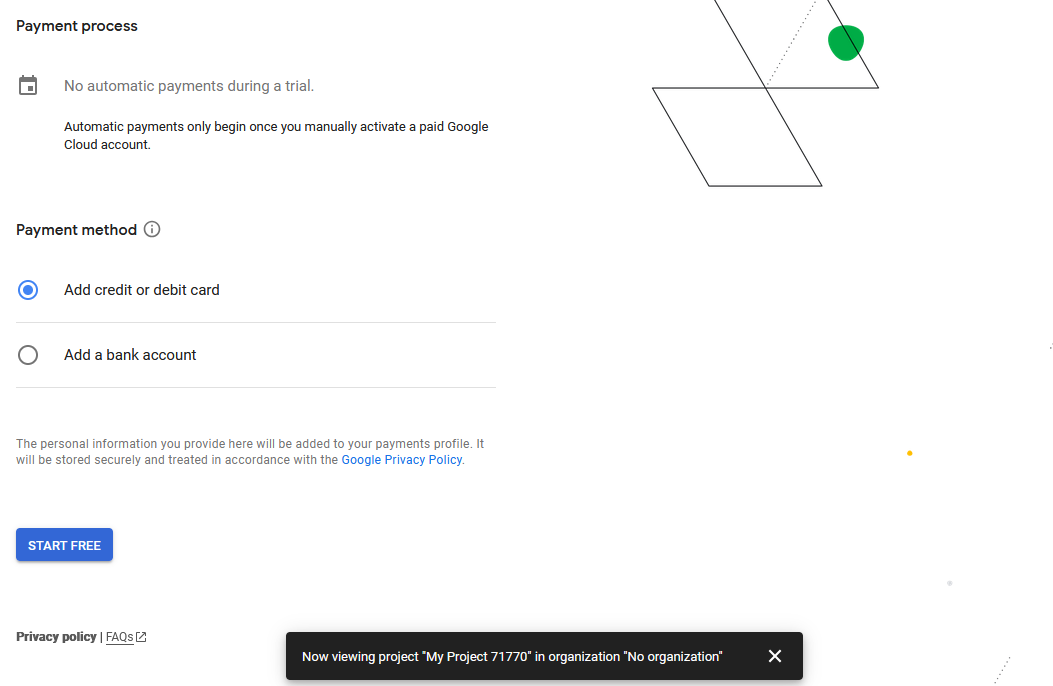
Payment details
Here you have to agree to the terms of use again, then you can enter your payment information.
Valid payment information is a prerequisite for a functioning API key
Questions to developers
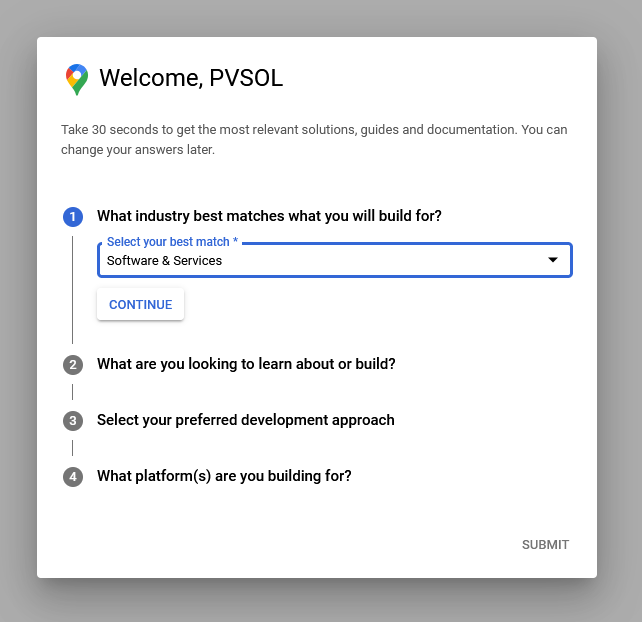
The following five questions are not relevant for the API key or PV*SOL® and are actually aimed at developers. You can simply give random answers.
Here are five sample answers:
- Which sector is best suited to the solutions you want to develop?
- Software and services
- What would you like to find out more about or what would you like to develop?
- Add API key
- Select your preferred development approach
- Full code
- Which platform are you developing for?
- Web
- Which framework or frameworks do you use?
- React (+ next.js)
Create project
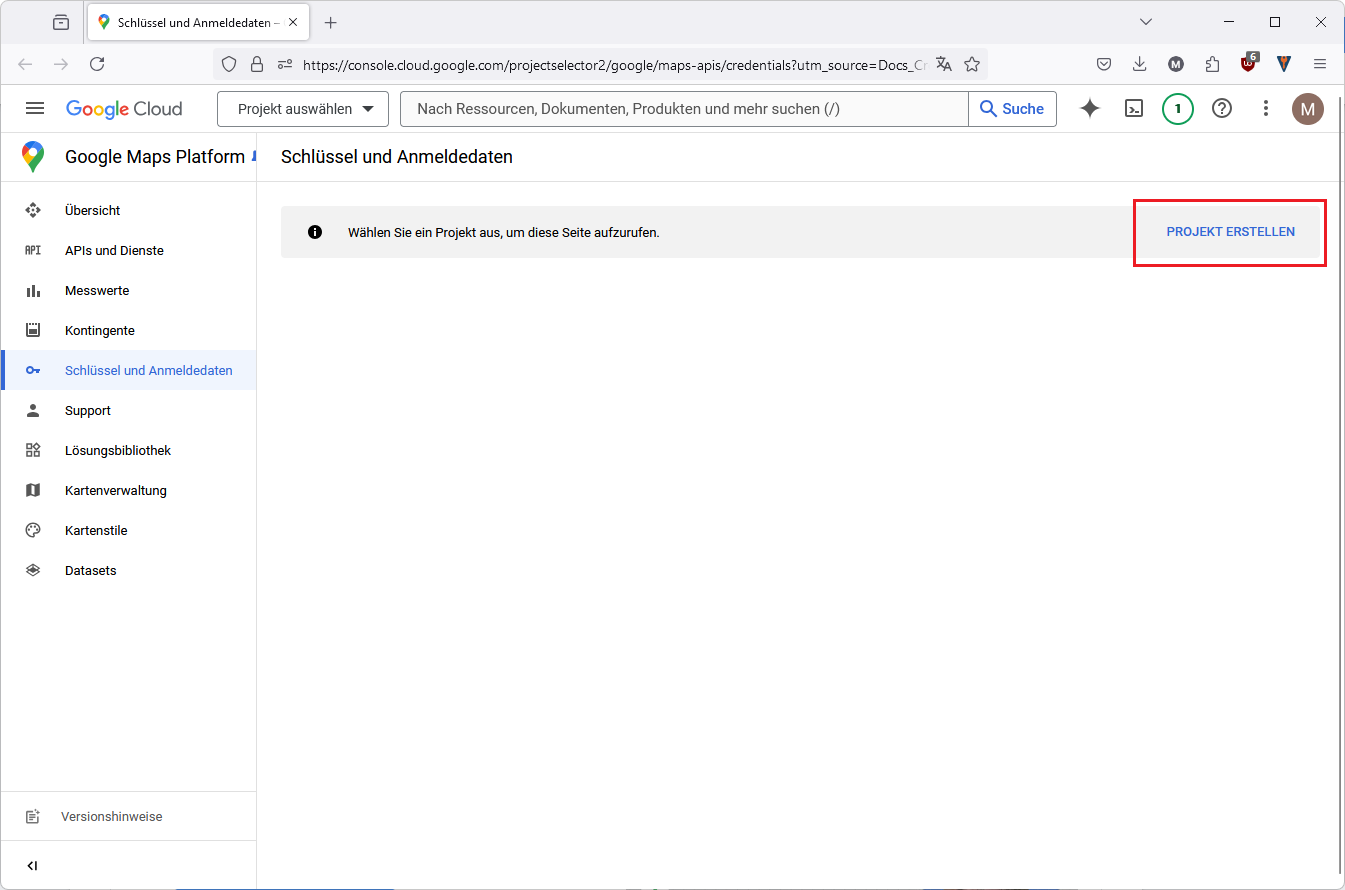
The project overview page will open.Click on ‘Create project’:
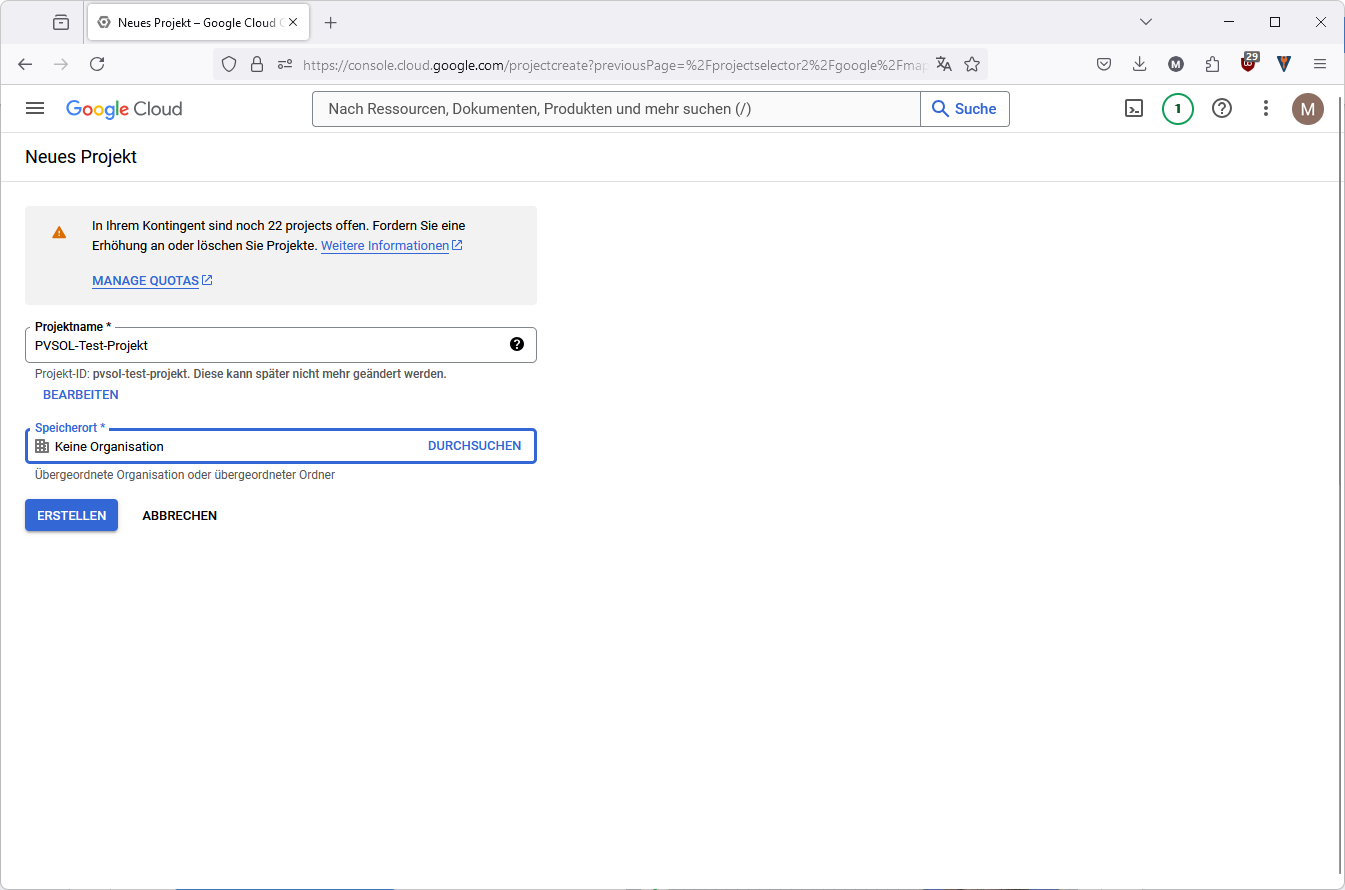
Assign a name and click on ‘Create’:
Secure API key
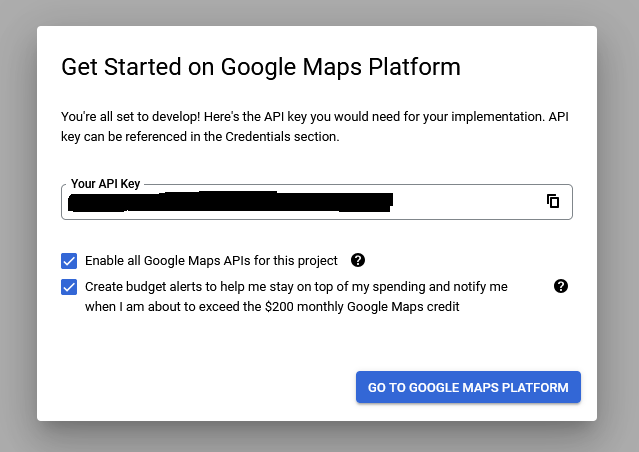
The API key becomes visible (but does not have to be copied yet).
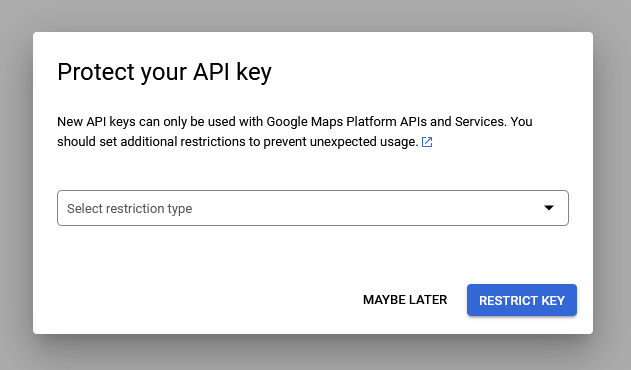
Click ‘To the Google Maps platform’. A dialogue to protect the API key appears first.
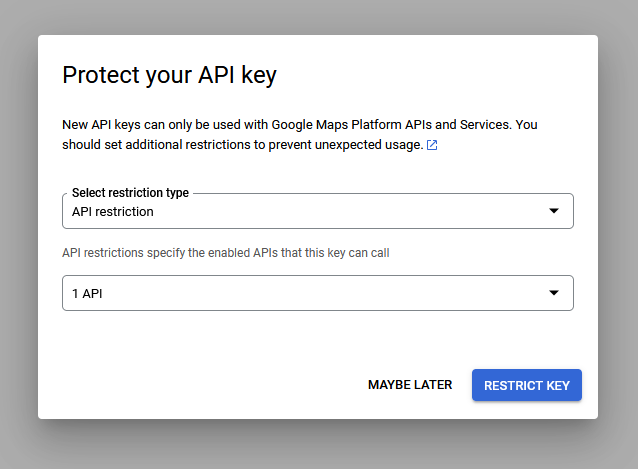
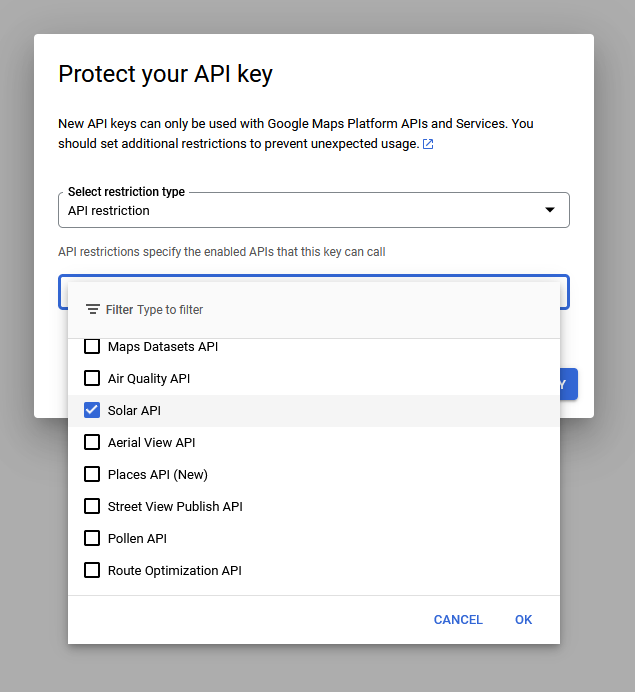
Select the ‘API restriction’ option and then select the Solar API from the list.
The dialogue closes and you see an overview, but without an activated API key.
Activate Solar API
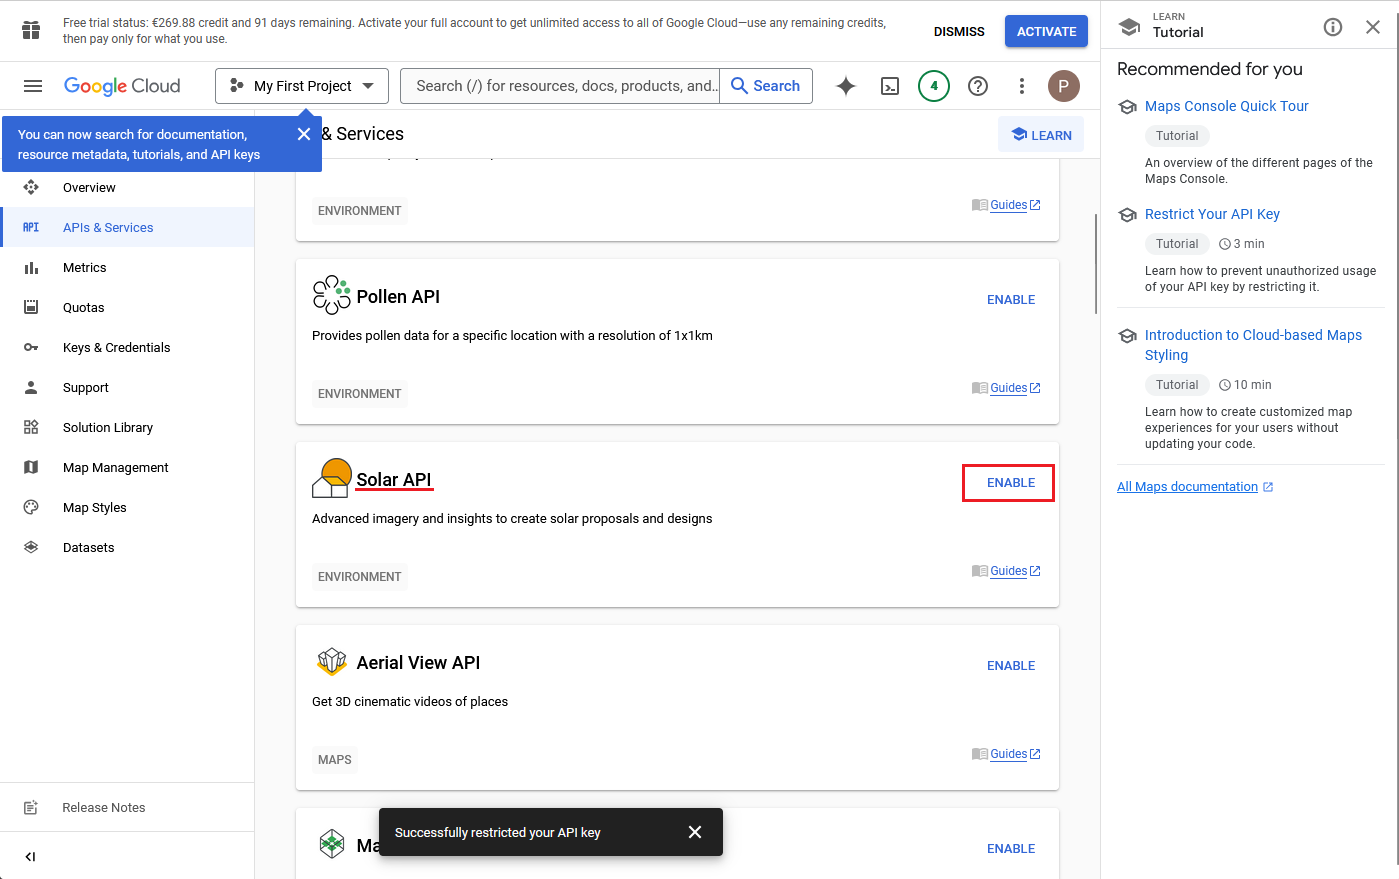
To be able to see and use the API key, the Solar API must first be activated under ‘APIs and services’. To do this, search for the Solar API in the list and click on ‘ENABLE’:
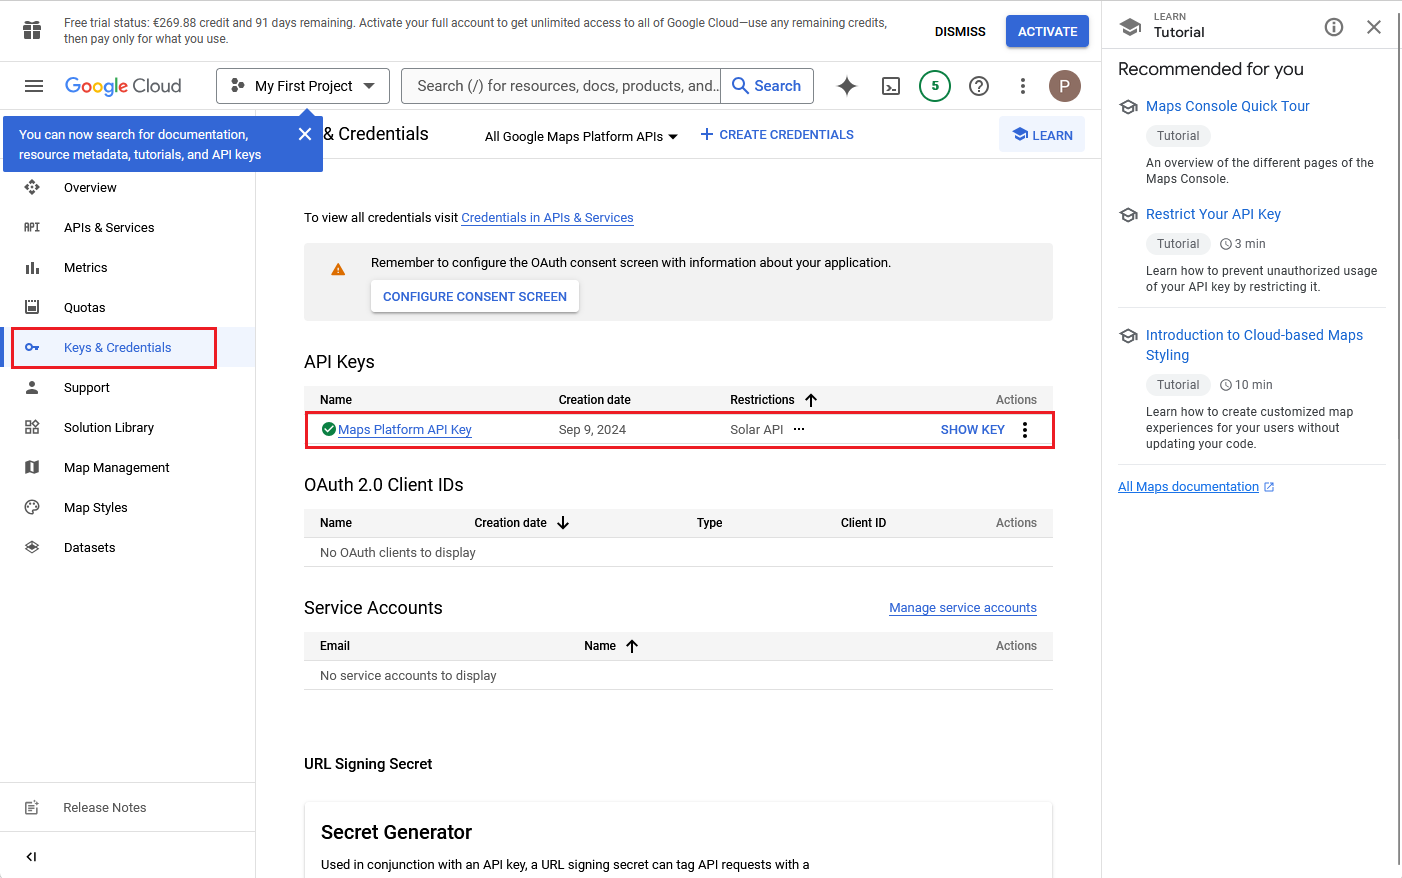
The API key now appears under ‘Key and login data’ with a green tick in the ‘API key’ section.
The API key can be displayed and copied by clicking on ‘Show key’. It can now be used in PV*SOL®.
See also
